How to clone your website locally for testing
YourSites offers you the chance to clone your client sites so you can perform tasks and tests on the cloned site without affecting your live site.
There are many reasons you may want to do this:
- When your core software is going through a major upgrade step such as from Joomla 3.10 to Joomla 4.0
- You have an extension upgrade where you want to check if everything works ok before rolling out the upgrade
- You may want to try out a new extension
- You may have a new template you want to try
The list goes on but what they have in common is you dont' want to experiment with your live site!
From version 1.60.0 of YourSites you can create a remote clone of your live site - this allows you to create a clone in a subdomain of your existing site or create a fully functioning copy on a different domain/hosting account. Please see the documentation - Create a Remote Clone of a Site or Migrate to a New Server for more details.
This documentation describes how to create a clone of your client site in a subdomain of the live site - this means that the hosting environment is the same as the live site.
How to Create A Local Site Clone
1. Enable Site Cloning
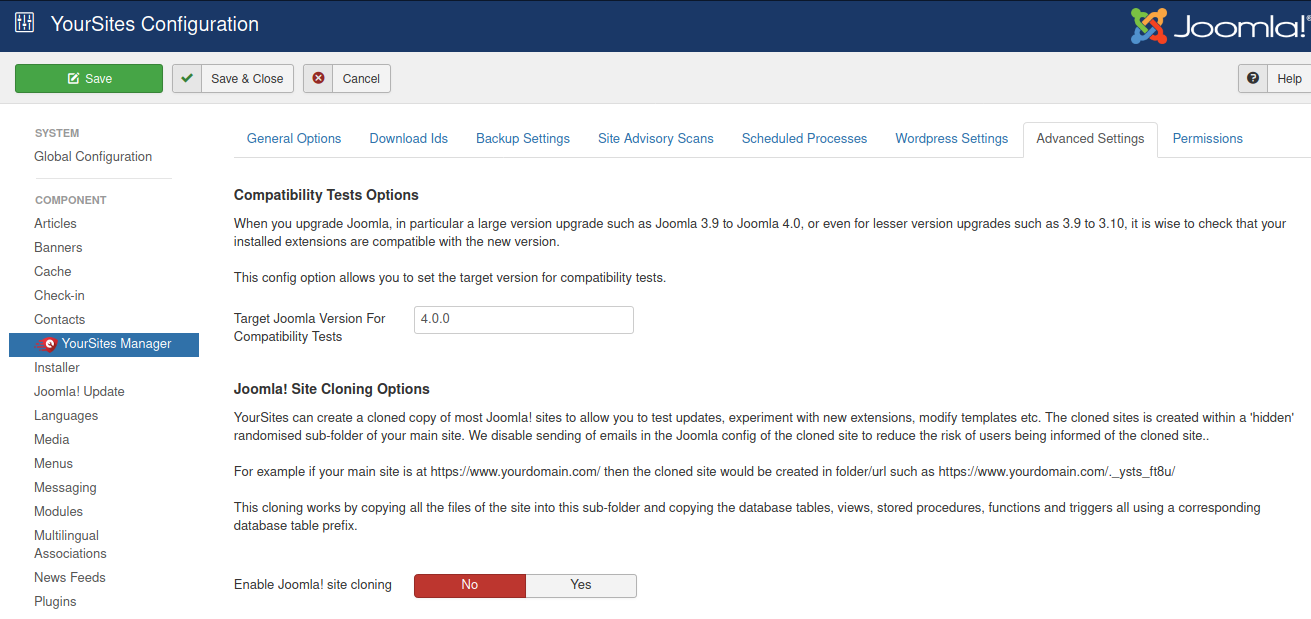
Enable site cloning on the advanced tab of your YourSites configuration.
2. Select Site To Clone

Select a Joomla site from your list of sites that you wish to clone and select the 'Clone Site' option
3. Space Warning
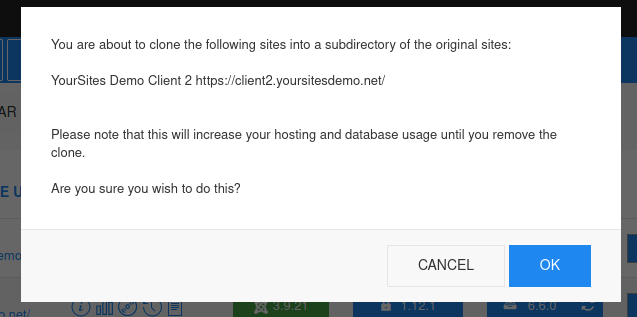
You will then be warned about how much space such a clone may take - this is important as by default all files, images and videos will be copied. There is a way to reduce this usage - see the advanced options below.
4. Clone is Created
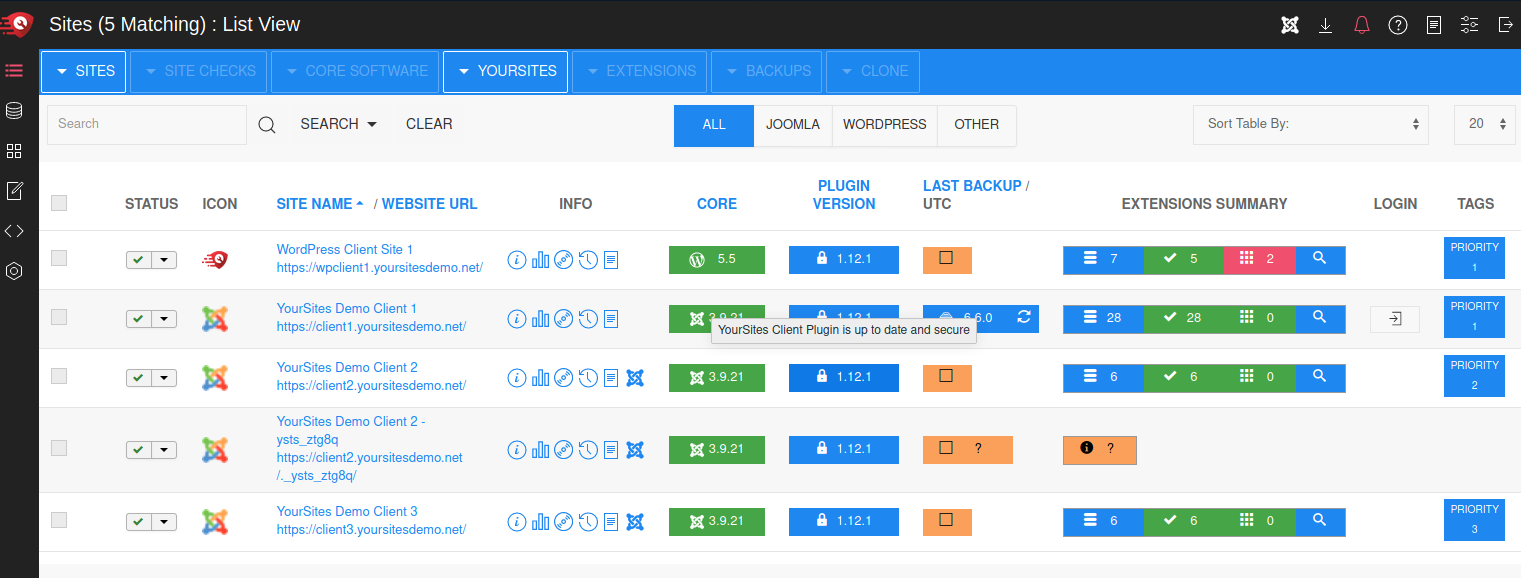
After a couple of minutes your cloned site should be available and with its own entry in YourSites
5. Where is the Clone?
Notice that the clone has been created in a special subfolder of the client site. In the above screenshot the URL is https://client2.your sites demo.net/clone_ysts_ztg8q - it should be difficult for the public and/or search engines to find this type of URL. If it is critical that it is not accessible to the public or search engines then you are recommended to make the client site offline or add authentication protection to it.
However most cloned sites are not retained for long and the path is difficult to guess so most of the time this is not necessary.
6. Check Extensions
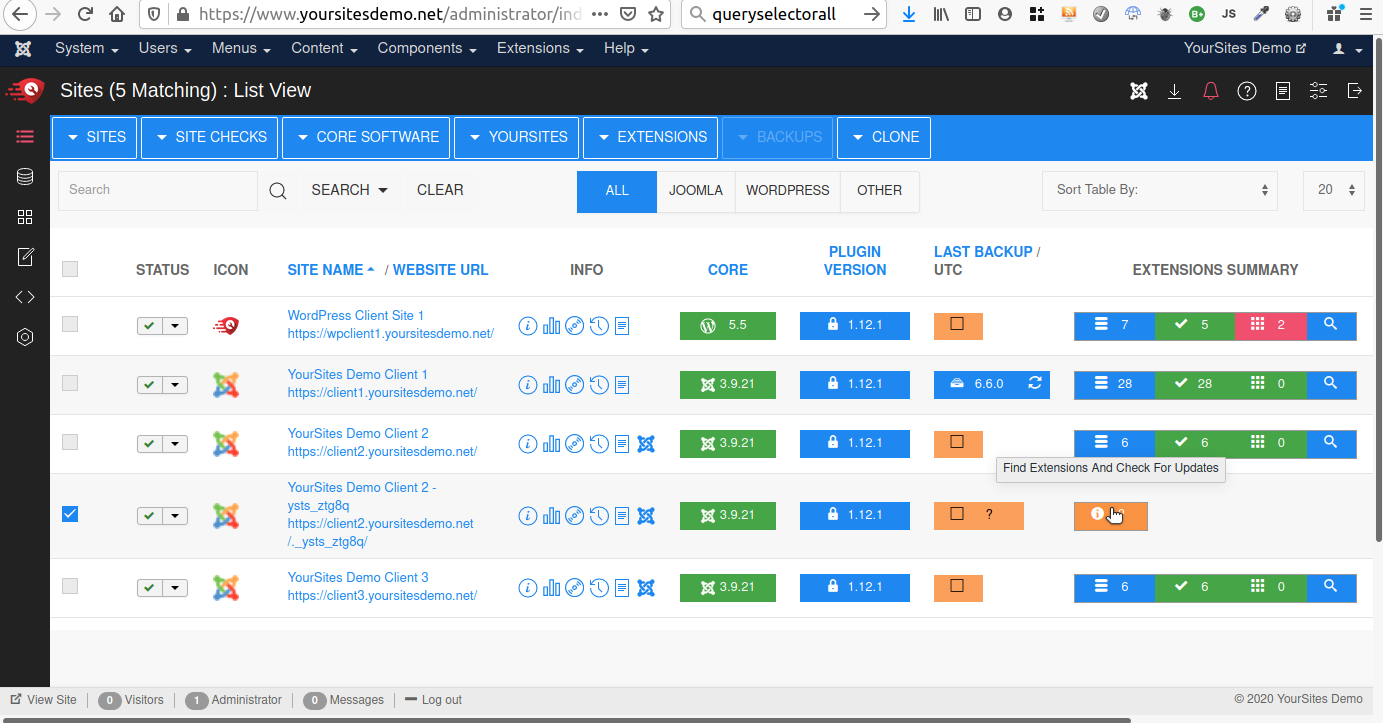
The final step in creating your cloned site is to check extension versions in YourSites
Failure to Create Clone
Its possible that YourSites fails to create the clone for some technical reason about how your site it set up. If this happens the partial cloned site and data should be cleaned up automatically.
If you encounter this problem please let us know in the forum so we can see what is stopping the creation of the clone, resolve this an improve YourSites for everyone.
Deleting a Cloned Site
If you select a cloned site you should see the option to delete this clone - this will remove all copied files and copied database tables.
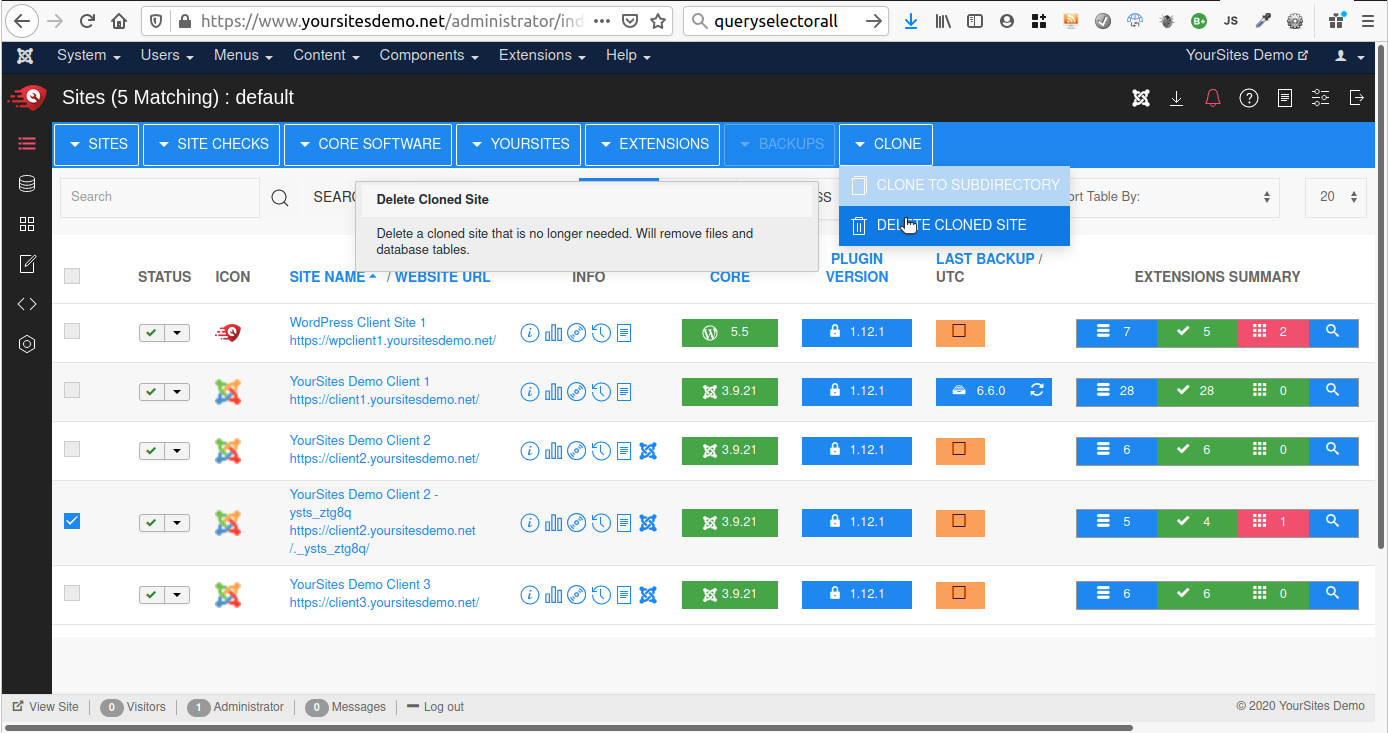
The option to delete a cloned site is only available for sites with URLs that follow the special cloned site naming convention and this is checked in the code again before a site is deleted.
Advanced Options
1. Cloned Site Aliases
You can create a more memorable alias for the cloned site URL. After creating the cloned site you should edit the YourSites system plugin on the PARENT site - it will offer you a list of all its current clones at the bottom of the page where you can add your own alias.
In this screenshot the alias "freddy" is being used so that the YourSites plugin on the parent site will redirect URLs like ubu.wp-yoursites.net/freddy to http://ubu.wp-yoursites.net/._ysts_eowfv.
You should probably only do this if your clone site is protected from crawlers in some way.
2. Saving Disk Space
Before creating your client site clone you can edit the site in YourSites and specify, on the advanced options tab, certain folders to exclude from the cloning process (you are given an estimate of how much space these folders use).
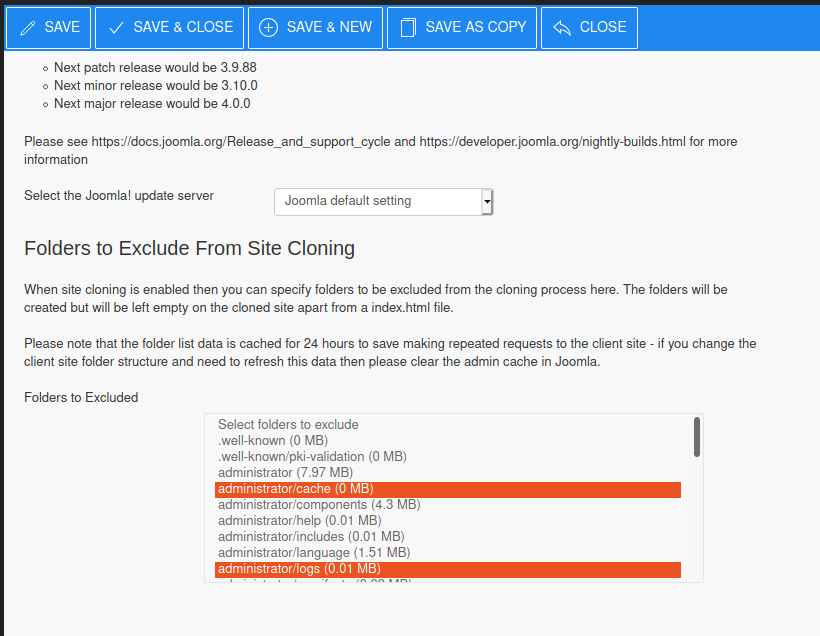
The good news is that the YourSites client plugin on the cloned client site is clever enough to know that it is a cloned site and it will check the pages it renders for images and other files from the /images folder. If the /images folder was excluded from the cloning process it will replace the paths to images that don't exist on in the cloned file structure with URLs to the original images. Since it will only do this for images that were not cloned you can add new images to the cloned site and they will be shown on the cloned site's pages.
We love every single one of our users, without you YourSites simply couldn't happen! So we would love a review at the Joomla! JED so we can let others know about us too, please take a minute to write a review:
https://extensions.joomla.org/extension/yoursites-manager/
If you feel you have something negative to say, we would implore you to speak to us first, as we really really don't want anyone to be unhappy!